
 English
 中文简体
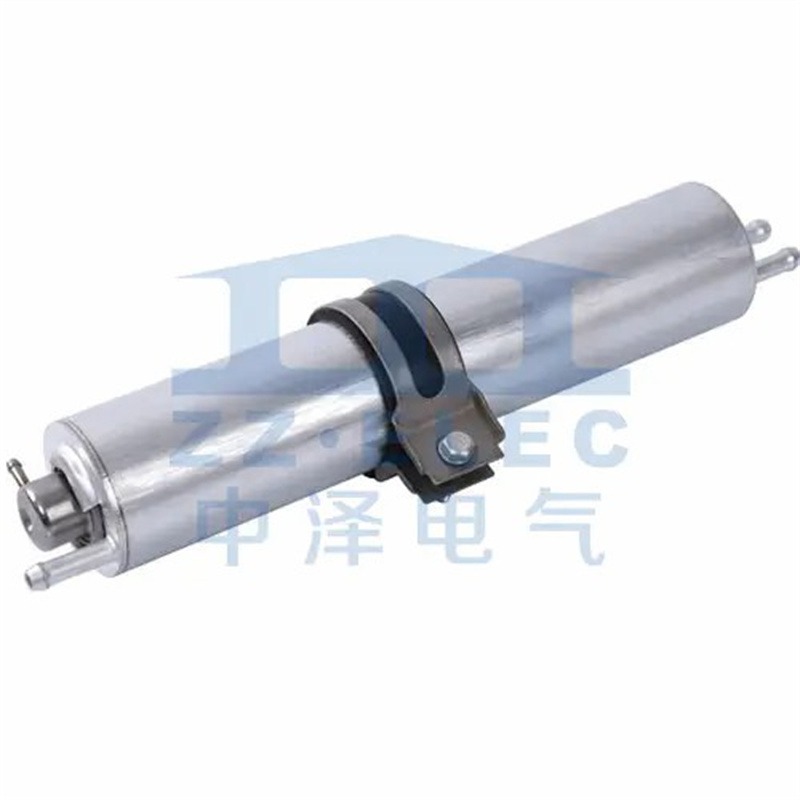
中文简体Fuel Filter Structure
Fuel filter cover&housingType: nearly every existingMaterial: AL1060We specialize in Aluminum cold extrusion. Fuel filter cover and housing could ...

Content
A restricted fuel filter presents several distinct warning signs that should not be ignored. Drivers may notice a significant loss of engine power, particularly under heavy acceleration or when climbing hills, as the engine is being starved of the necessary fuel volume. The vehicle might also experience hard starting, rough idling, or unexpected stalling because the fuel pressure has dropped below the required threshold for stable operation. In some cases, the engine may hesitate or stumble during acceleration, and a noticeable drop in overall fuel efficiency can occur as the engine control unit attempts to compensate for the lean condition. These symptoms often develop gradually, making them easy to overlook until the problem becomes severe and potentially leads to more extensive fuel system issues.
The oil filter housing gasket is a critical seal that, when it fails, can lead to oil leaks onto the serpentine belt and other engine components. The replacement process involves first safely draining the engine oil to prevent spills. The next step is to remove the air intake assembly and any other components that obstruct access to the oil filter housing. Once accessible, the old filter is removed, and the housing itself is unbolted from the engine to allow for the removal of the old, hardened gasket. It is crucial to thoroughly clean the mating surfaces on both the housing and the engine block, ensuring no old gasket material or debris remains. The new gasket is then carefully installed, the housing is reattached and torqued to specification, and a new oil filter is installed before refilling the engine with fresh oil and checking for leaks after startup.
Choosing an upgraded engine air filter involves evaluating several factors beyond simple brand recognition. The primary consideration is the filter's construction material, which typically falls into either high-flow cotton gauze or synthetic media. Cotton gauze filters generally offer superior airflow and can be cleaned and re-oiled for repeated use, while modern synthetic options provide excellent filtration efficiency with less maintenance. The design of the filter element and the quality of the sealing edges are also vital to prevent unfiltered air from bypassing the element and entering the engine. It is important to understand that while some performance filters increase airflow, they may require a custom engine tune to fully realize the power gains, as the engine's mass airflow sensor readings will change with the increased air volume.
The cabin air filter, responsible for cleaning the air entering the vehicle's interior, is typically located behind the glove compartment or under the dashboard on the passenger's side. To access it, the glove box must usually be emptied and then carefully unclipped or unbolted from its mounting points, allowing it to swing down or be removed entirely. Behind it, a plastic cover is secured over the filter housing; this cover is removed to reveal the old filter. The filter should be pulled out directly, and the housing should be vacuumed clean to remove any accumulated debris like leaves or dirt. The new filter is then inserted, paying close attention to the airflow direction arrows marked on its frame to ensure it is installed correctly. The plastic cover and glove box are then reassembled, restoring the interior to its original state.
A comprehensive transmission service involves replacing both the fluid and the internal filter, which is housed within the transmission pan. The vehicle must be safely raised and supported on level ground before the procedure begins. The transmission pan is then carefully unbolted, allowing the old fluid to drain into a suitable container. Once drained, the pan is completely removed, revealing the old filter, which is typically held in place by a few bolts or a locking ring and can be pulled straight out. The next critical step is to thoroughly clean the transmission pan and the mating surface on the transmission case, removing all old sealant and debris. A new filter is installed, a new gasket or a bead of the correct sealant is applied to the pan, and the pan is reattached and torqued in a crisscross pattern. New fluid is then added through the dipstick tube or fill plug until the fluid level is correct, as verified by the manufacturer's specified procedure.

Fuel filter cover&housingType: nearly every existingMaterial: AL1060We specialize in Aluminum cold extrusion. Fuel filter cover and housing could ...

After a quality assurance test, the response speed is faster, the price is lower, and it is easy to install.Material: Made of high-quality aluminum.
 7 (E65, E66, E67) Filter")
OE number:16126750475Representative models: BMW (Import) 7 (E65, E66, E67)

OE number:7H0127401DRepresentative models: VW import
 Z3 Filter")
OE number:13327512019Representative models: BMW (import) Z3

OE number:MANN: WK5015ZRepresentative models: BMW
 8 (E31), BMW (Import) 3 Compact (E36) Filter")
OE number:13 32 1 713 808Representative models: BMW (Import) 8 (E31), BMW (Import) 3 Compact (E36)
Copyright © Zhejiang ZZ Electric Co., Ltd. All Rights Reserved.
Custom Aluminium Cold Extrusions Manufacturers


